Apple has introduced a security mechanism with macOS 10.14 (Mojave), which requires special access to be granted to remote control applications like TeamViewer.
And macOS 10.15 (Catalina) has strengthened the security and privacy even further and requires additional permissions to be given to TeamViewer in order to control your Mac.
Without this access, TeamViewer users connecting to macOS 10.14 or higher will only be able to view the screen but not control it with their mouse or keyboard.
And TeamViewer users connecting to macOS 10.15 or higher will additionally only be able to view the desktop background and the TeamViewer app, but not any other applications at all.
These additional permissions must be granted locally on the Mac and some of them require admin rights.
Please find the different how-to guides for the setup on Mojave and Catalina below.
📌Note: TeamViewer is not able to grant this access by itself, nor can the access be granted remotely through a TeamViewer connection from another computer.
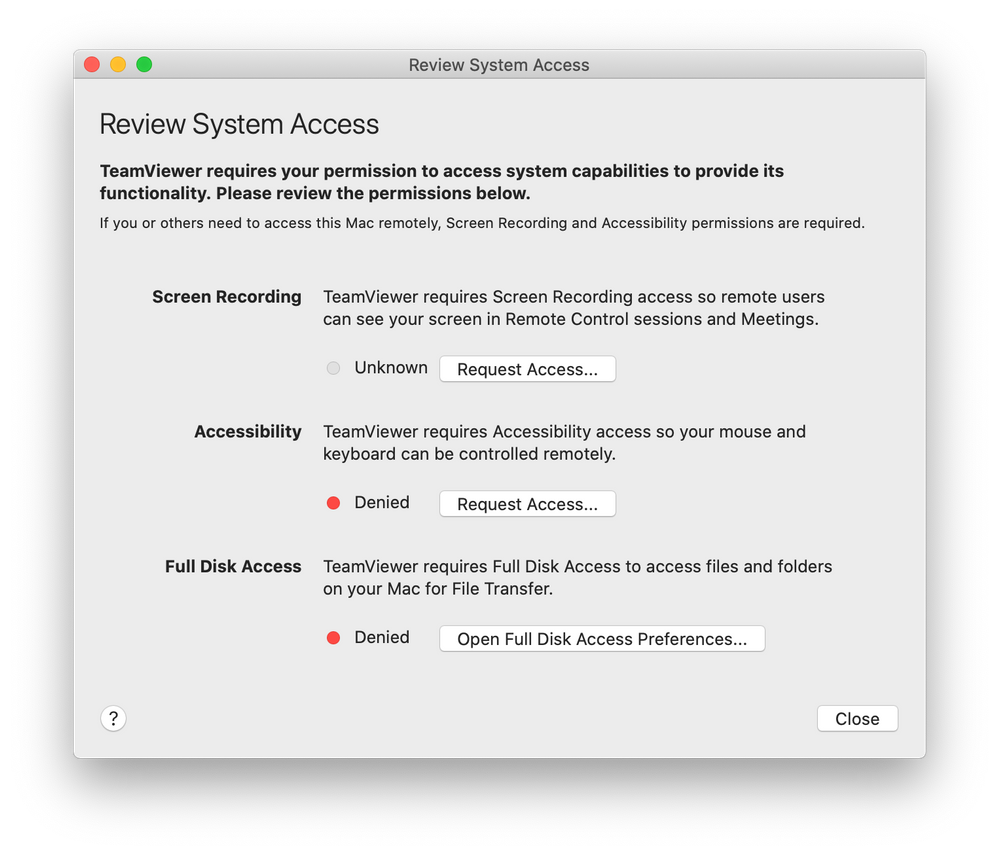
If you're starting TeamViewer 14 or higher on your Mac running macOS 10.14 (Mojave) or higher for the first time, you will be prompted with the following dialog:

You can also open this dialog by clicking on Help --> Check system access.
By default, all permissions are set to Denied. Please give permission to the system capabilities manually to use TeamViewer as desired. If you or others need to access the Mac remotely, Screen Recording and Accessibility are required at a minimum.
📌Note: If you are managing Macs in your organizations through an MDM system, you can use Privacy Preferences Policy Control (PPPC) payloads to configure Accessibility and Full Disk Access permissions. Your users will still need to grant Screen Recording access themselves, this permission does not require admin credentials.
To allow the access, click the buttons shown in the dialog. Eg. click to allow Accessibility, click on Request Access... - then confirm by clicking on Open System Preferences
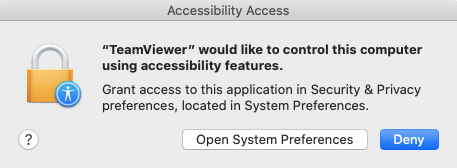
which will bring you to the Accessibility section of the Privacy panel, inside the Security & Privacy preferences: